The Best Tool to Use When Rewiring a Trailer
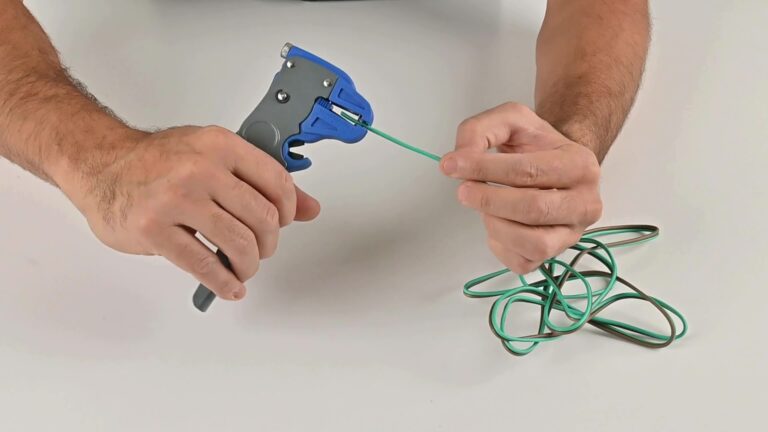
Rewiring a trailer can seem like a daunting task, even for those experienced in DIY projects. The process involves tight spaces, repetitive tasks, and the need for precision to ensure a safe and reliable connection. Without the right tools, this job can quickly turn frustrating. That’s where the Wire Master Pro comes in. Designed to make wire stripping effortless, it’s the ultimate tool for anyone tackling a trailer rewiring project.
Why Wiring A Trailer Can Be Tricky
Trailers endure a lot of wear and tear, and over time, their wiring systems often need replacement. Common challenges include:
- Tight spaces: Trailers often have wiring routed through narrow conduits or behind panels, leaving little room to maneuver. This can make it difficult to strip wires cleanly without damaging them or causing strain on your hands and wrists. Traditional wire strippers exacerbate these issues because their jaws do not go straight in, making it hard to position them accurately in narrow spaces. The width of the tool often becomes a problem, forcing you to yank and pull just to strip the wire. By contrast, the Wire Master Pro is designed to fit seamlessly into tight areas; simply squeeze and release for a clean strip, no extra effort required. Wiring a trailer has never been easier.
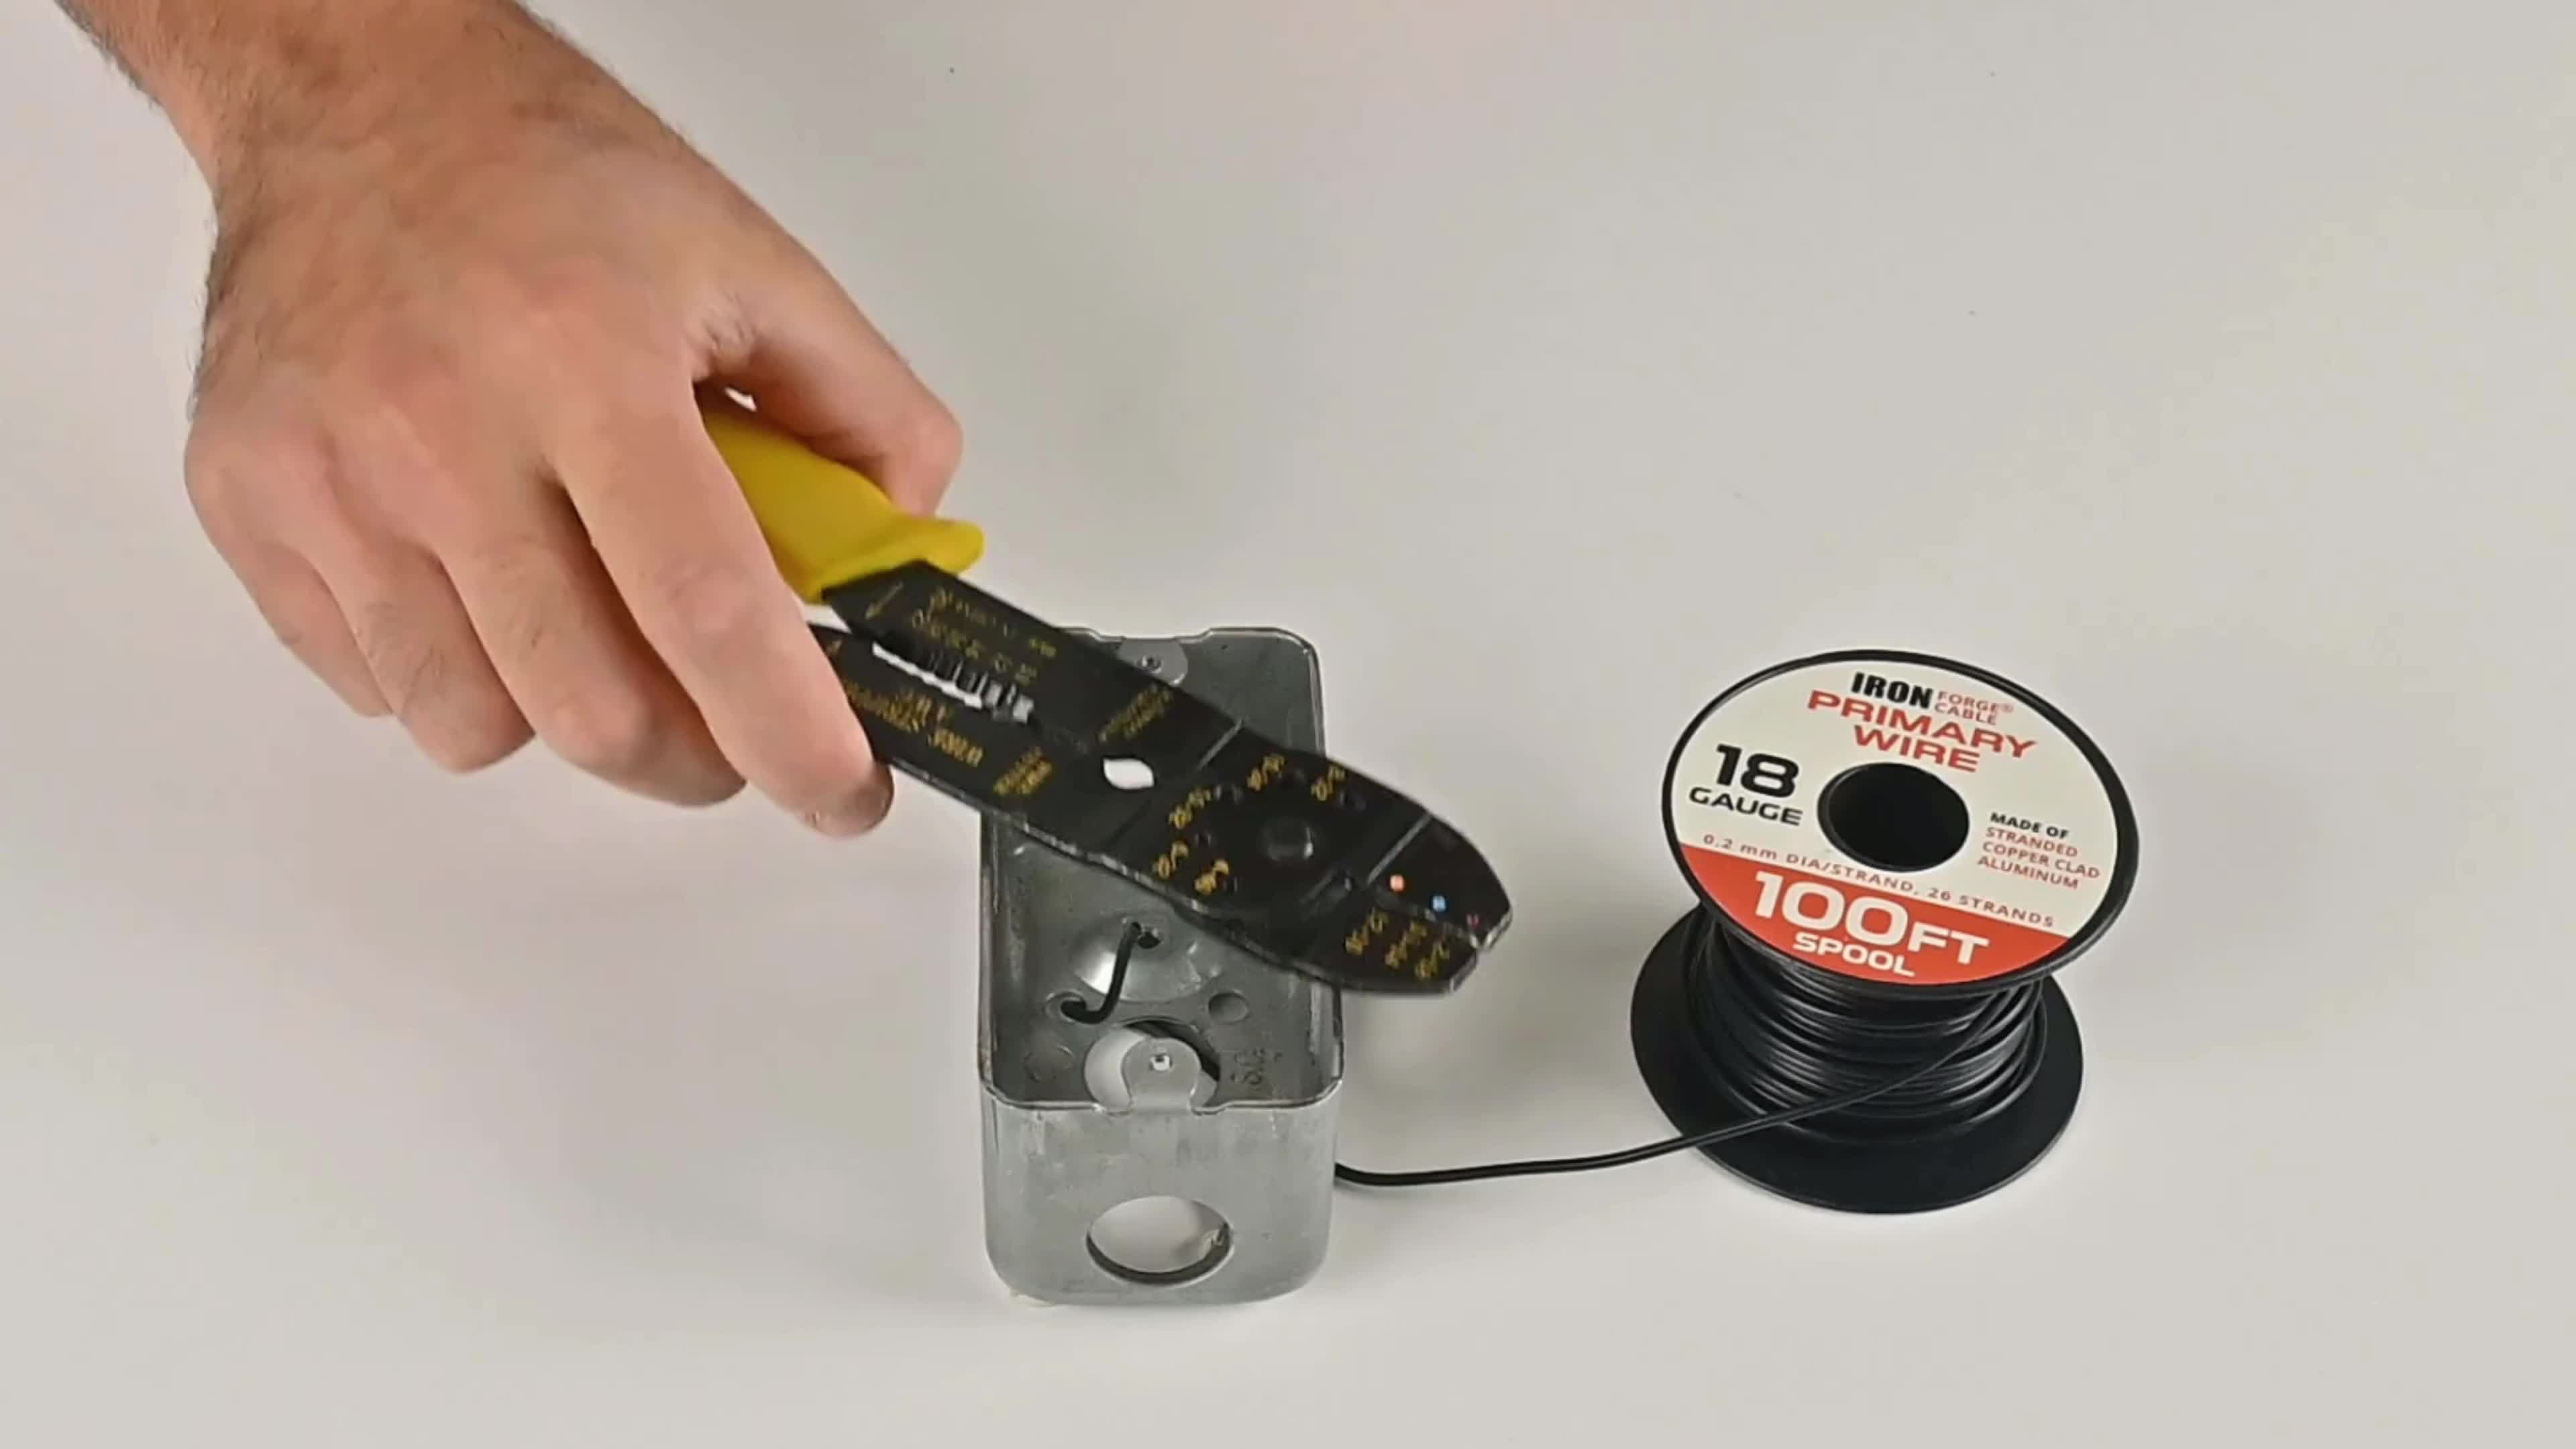
- Repetitive tasks: Stripping multiple wires manually is time-consuming and tiring. With a traditional wire stripper, you have to repeatedly slot the correct gauge size for each wire, clamp down, and pull the insulation off—an action that can quickly lead to hand fatigue, especially when dealing with numerous wires. In contrast, the Wire Master Pro eliminates this hassle with its automatic adjustment mechanism. Simply insert the wire, squeeze the handle, and release—no constant adjustments or pulling required.
- Risk of wire damage: Traditional methods can nick or damage wires, compromising their integrity. A good automatic wire stripper will have a tension adjuster to really fine tune the wires when stripping. When wiring a trailer, you are dealing with two wires. And anytime you go to try and strip two wires at a time, the risk of damaging increases exponentially.
To overcome these obstacles, you need a tool that’s precise, efficient, and easy to use. Enter the Wire Master Pro.
The Benefits Of An Automatic Wire Stripper
The Wire Master Pro is engineered to simplify and streamline the wire-stripping process. Here’s how:
- Speed: What might take minutes per wire with manual tools can be done in seconds. No lining up for the particular gauge, just insert it in and squeeze.
- Precision: Clean, damage-free strips ensure secure electrical connections.
- Ease of Use: With its ergonomic design, even beginners can achieve professional results.
Using the Wire Master Pro means less time spent on the tedious parts of rewiring and more time focusing on completing the job right way.
Step By Step Guide To Rewiring A Trailer
Preparation Gather all necessary tools, including the Wire Master Pro, replacement wiring, connectors, and a wiring diagram for your trailer. Inspect the current wiring for damage or wear.
Disconnect Old Wires Safely disconnect and remove the old wiring. Use a multimeter to confirm all power sources are off before starting.
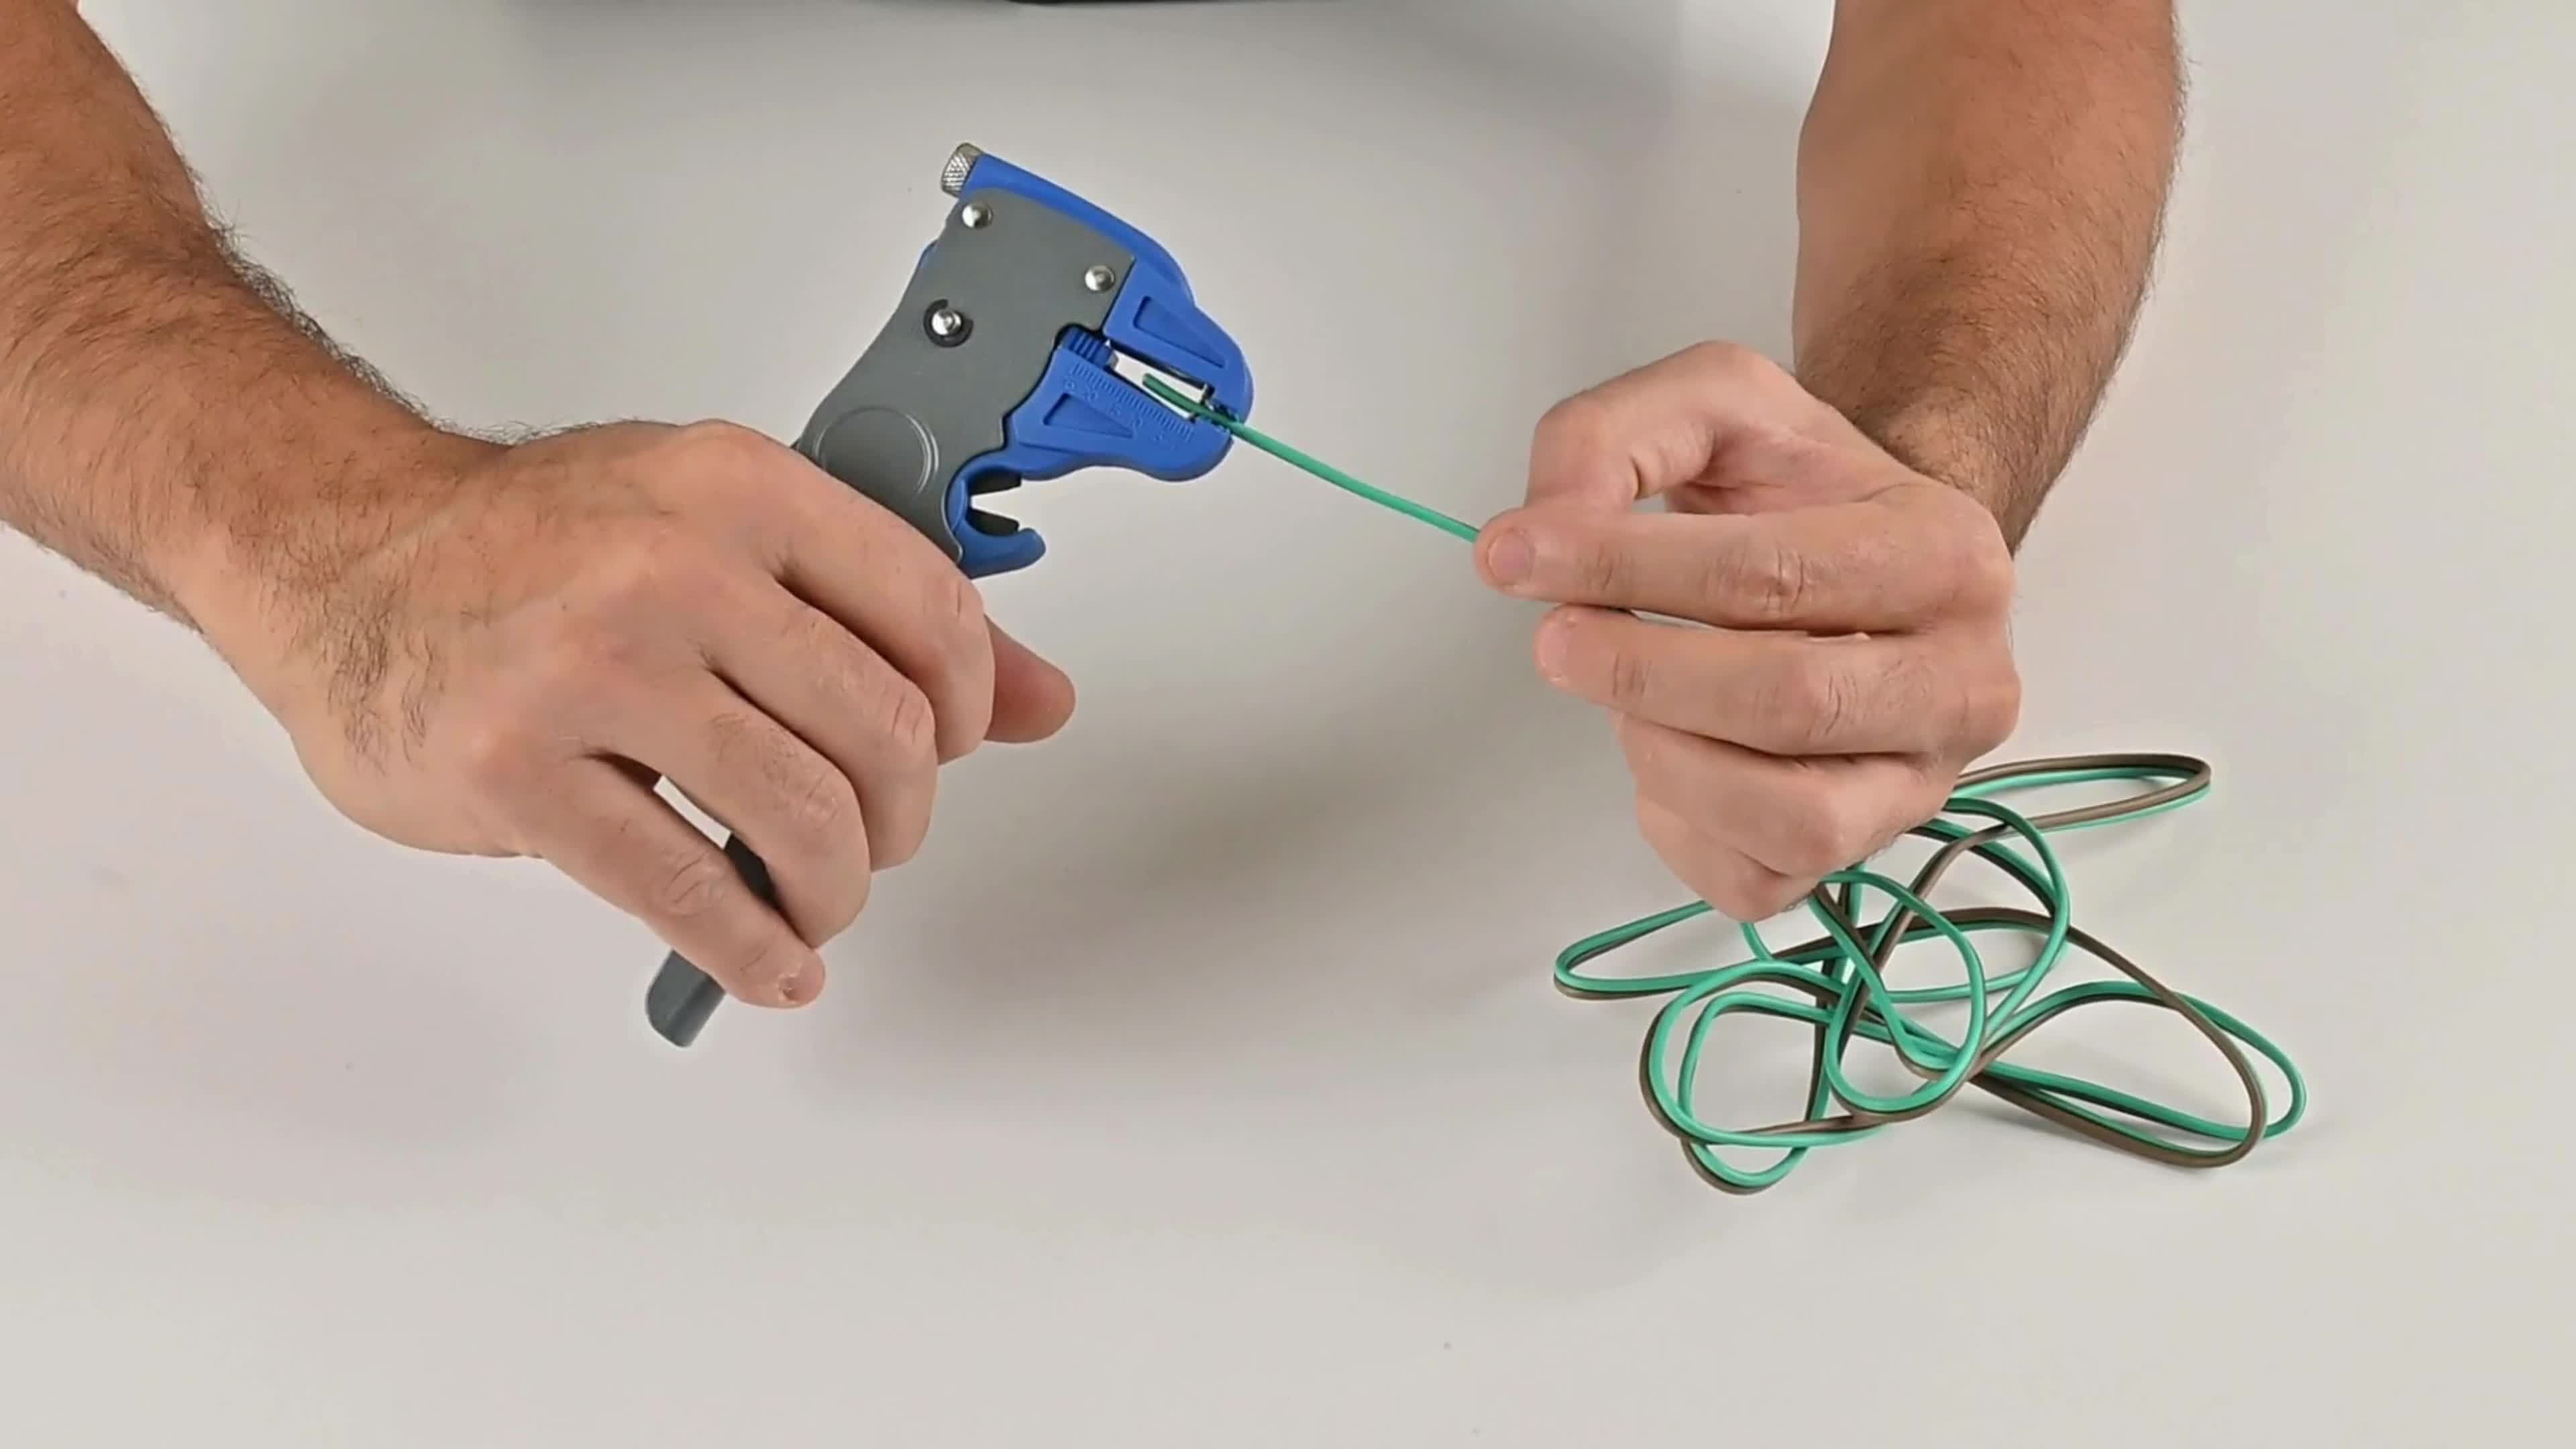
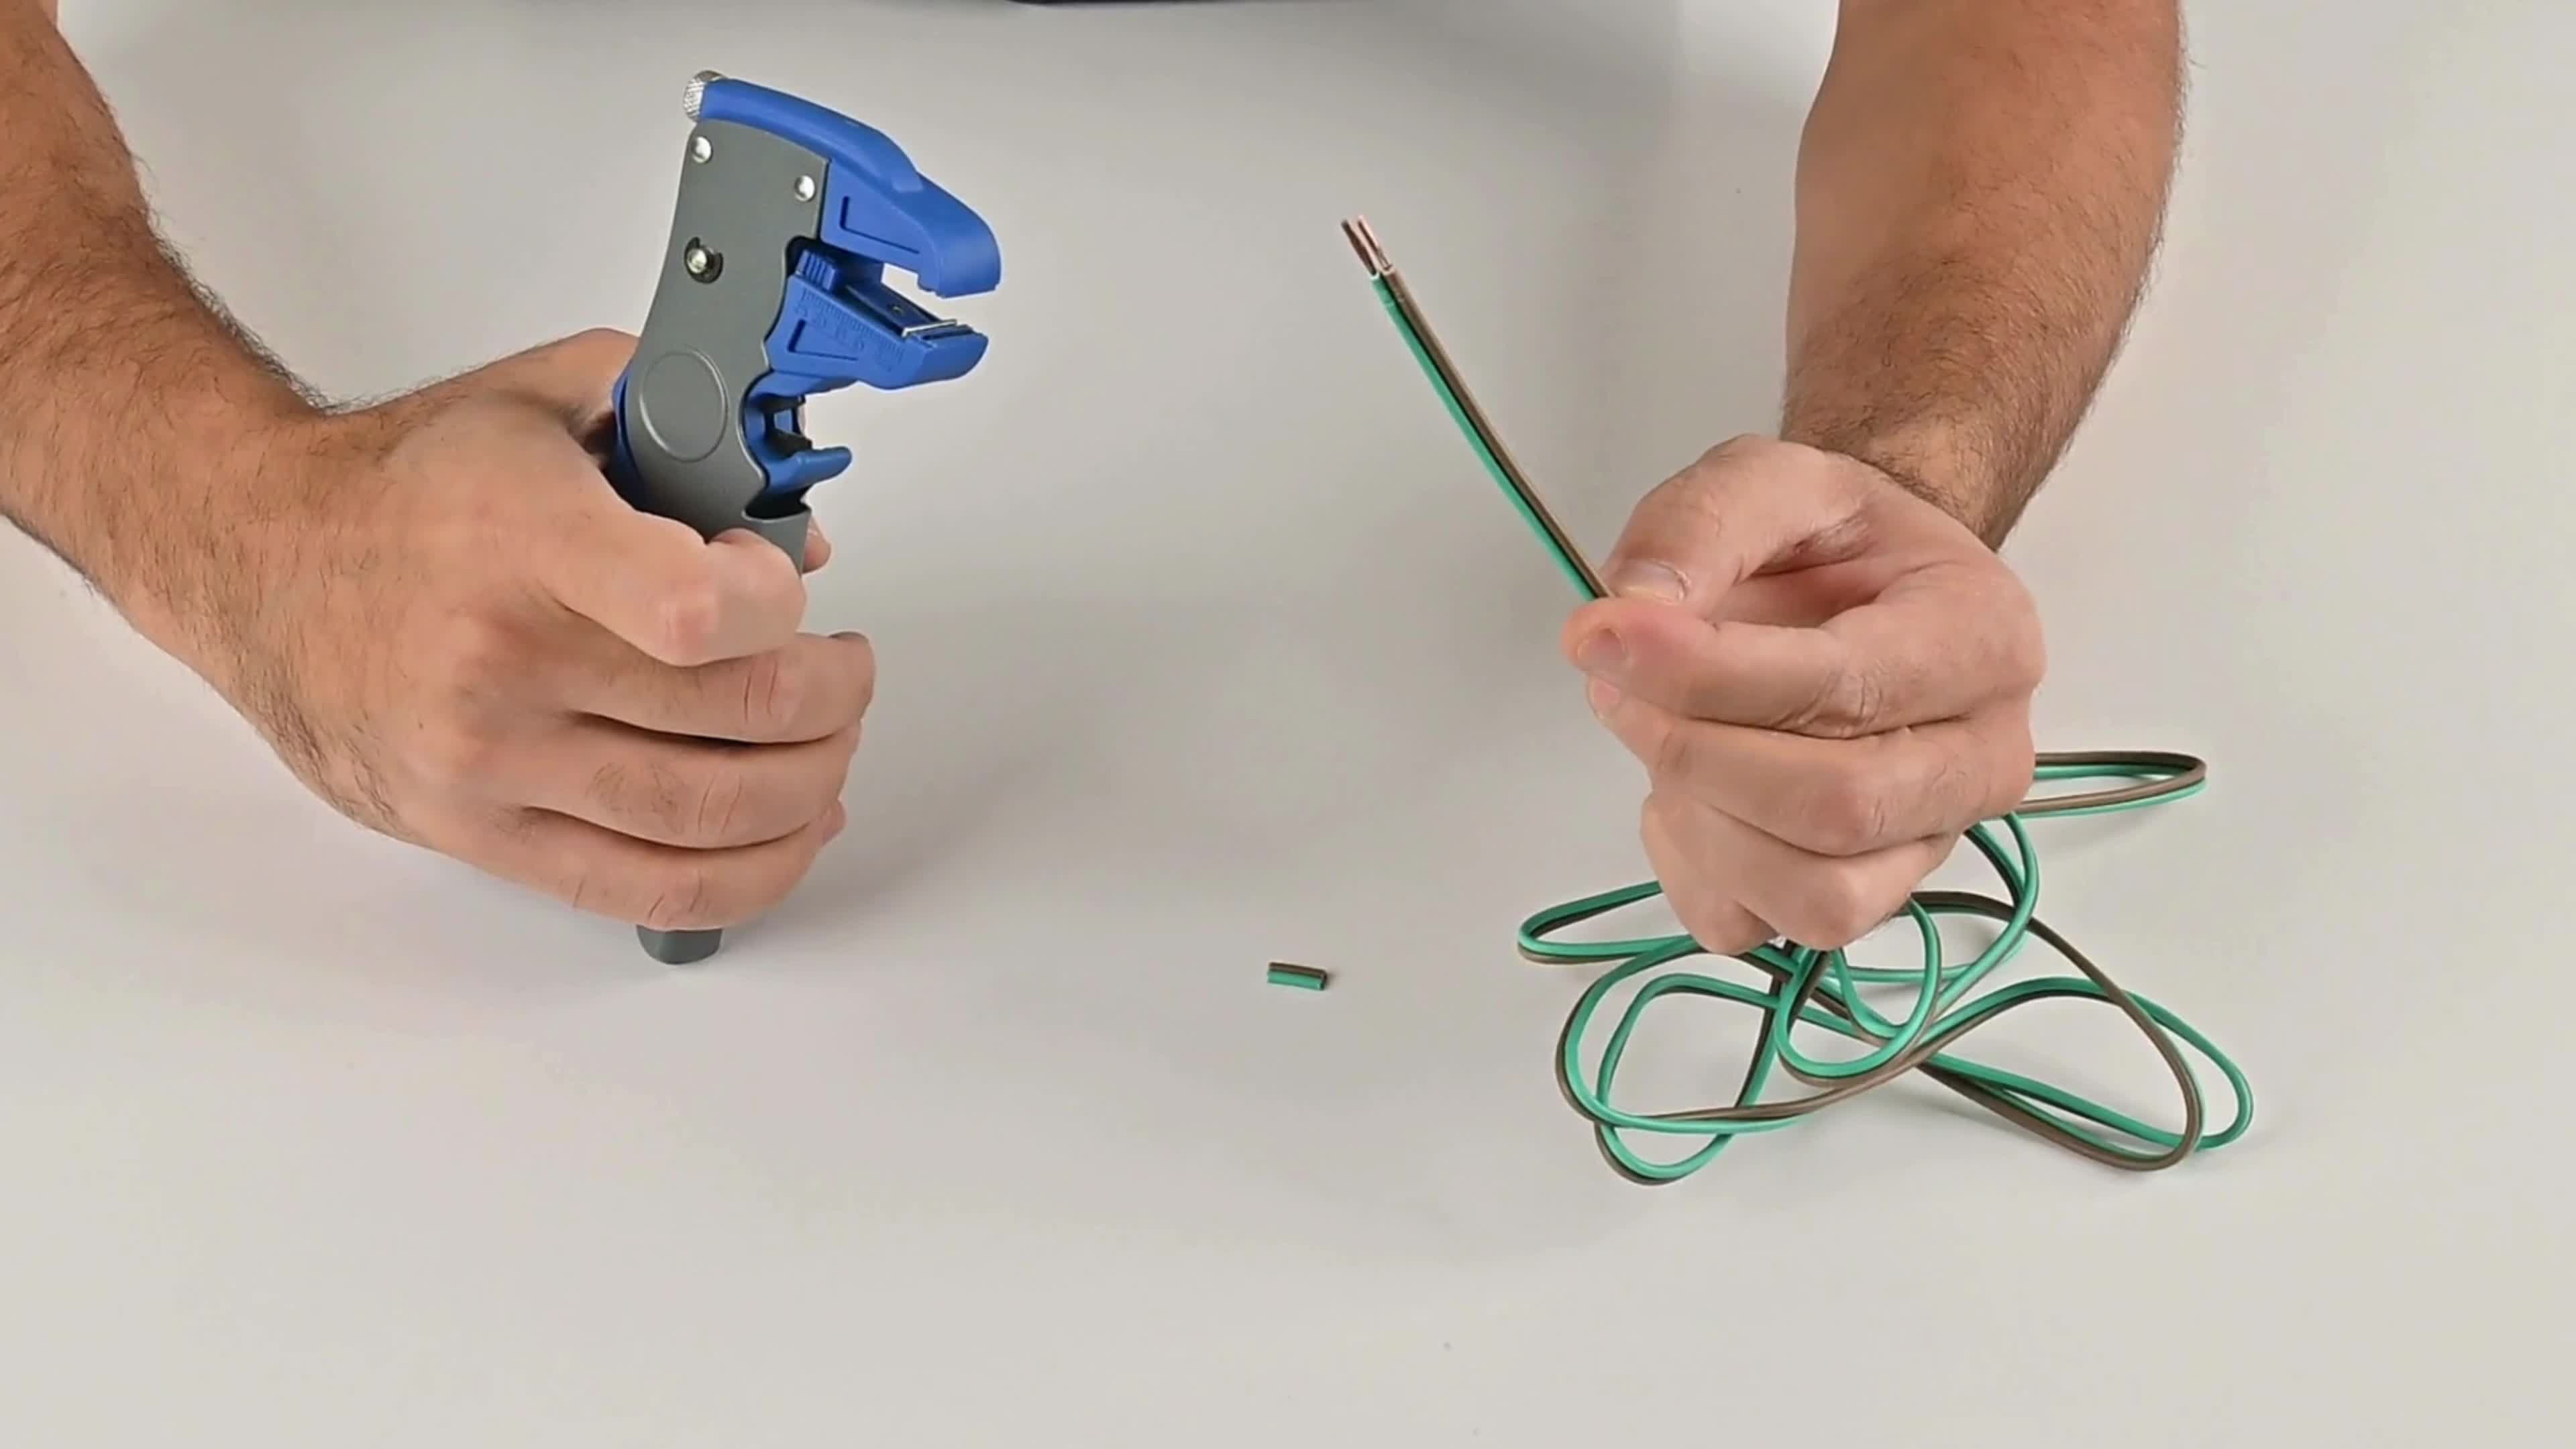
Strip New Wires Using the Wire Master Pro, strip the ends of your new wires quickly and cleanly. Its automatic adjustment ensures precision for wires of varying gauges. Trailer wire is typically 16 gauge and has two wires to strip, which can easily be done with one squeeze. (insert a photo of this step in action.)
Install New Connections Connect the wires to the trailer’s electrical system according to the wiring diagram. The clean strips made by the Wire Master Pro ensure secure and reliable connections.
Test the System Once all wires are connected, test the trailer’s electrical system. Ensure all lights and signals function correctly before hitting the road.
For the purpose of this article, we are not going to give a complete step by step exact process on how to wire a trailer, but basically just an overall summary as this is not the purpose of the article. For a more in depth discussion, check this article out that will tell you exactly how to achieve this.
Rewiring a Damaged Harness
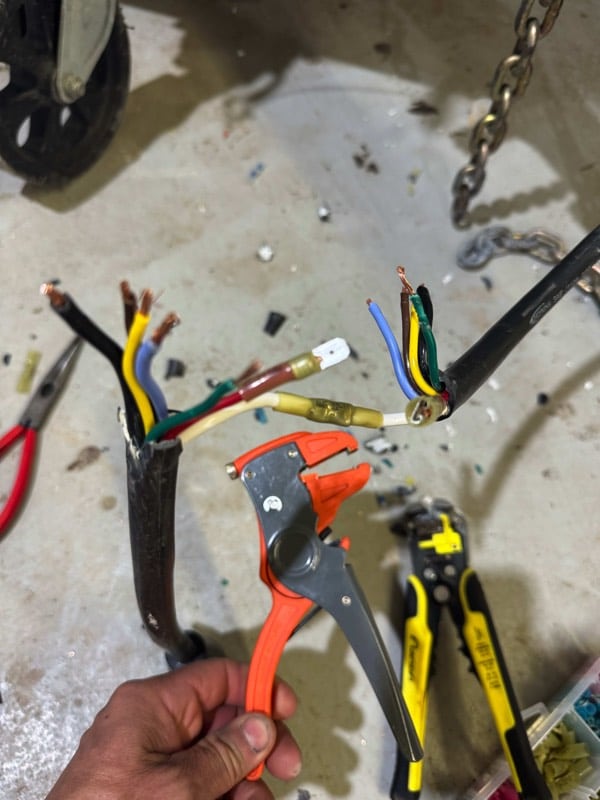
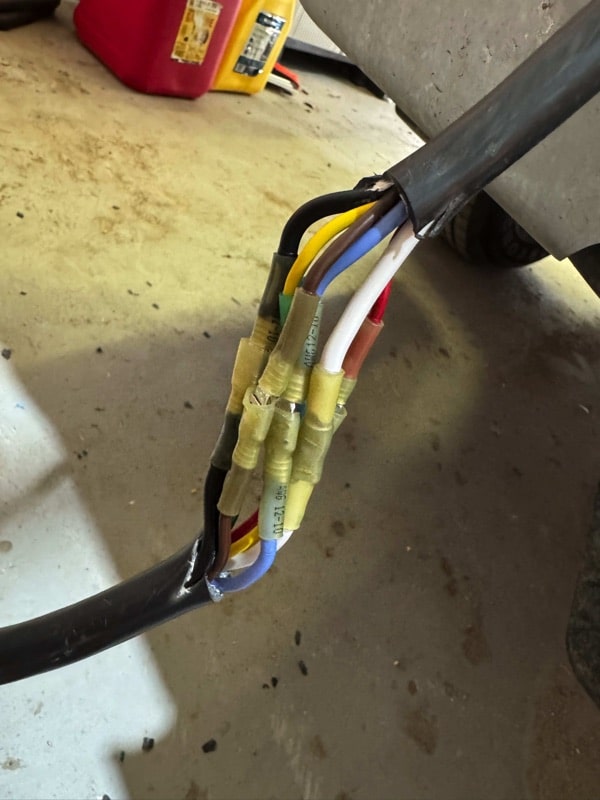
Sometimes, accidents happen, and a trailer’s wiring harness can suffer severe damage. For example, we encountered a situation where a trailer harness became disconnected and was dragged along the concrete for over an hour. The abrasion left the wires frayed and unusable, requiring the entire harness to be cut and restripped.
In such scenarios, the Wire Master Pro is invaluable. Cutting away the damaged sections is straightforward, and stripping the wires for reconnection is a breeze with its precise and automatic adjustment mechanism. The tool allows for clean, even strips without the risk of further damaging already compromised wires. This efficiency is crucial when working with multiple wires in a harness, as it reduces time and effort while ensuring reliable results.
This real-life example highlights how the Wire Master Pro isn’t just ideal for regular rewiring tasks but is also a lifesaver in unexpected repair situations.
Why the Wire Master Pro is the Best Tool for the Job
Wiring a trailer doesn’t have to be a frustrating, time-consuming process. The Wire Master Pro combines speed, precision, and ease of use, making it an essential tool for anyone tackling electrical projects. Why mess around with a traditional wire stripper and deal with all the frustration and hassle when an automatic wire stripper can be used. Not only will it save you time and energy, but the price difference is minuscule and you will not even notice the difference.
With its automatic adjustment feature, ergonomic design, and ease of use, it stands out as the best choice for trailer rewiring jobs.
Conclusion
Wiring a trailer is no small task, but with the right tools, it’s much more manageable. The Wire Master Pro not only simplifies the process but also ensures professional-quality results every time.
Ready to make your trailer rewiring project a breeze? Check out the Wire Master Pro today and see the difference for yourself!
See Also: ________________________________________________________

